     | Step XI - Fittings
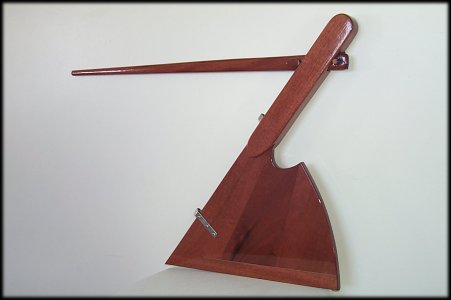
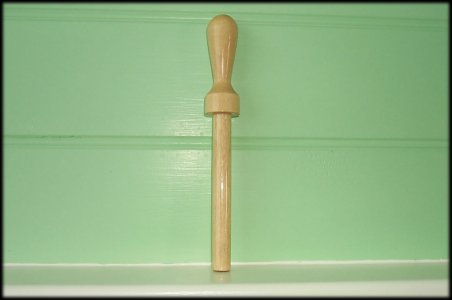
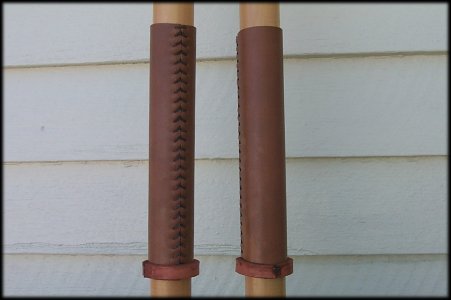
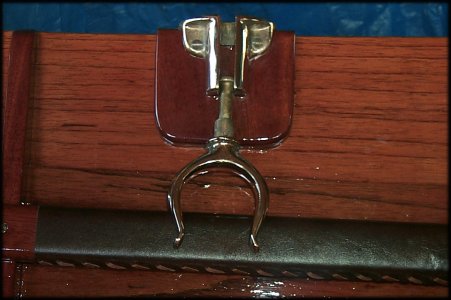
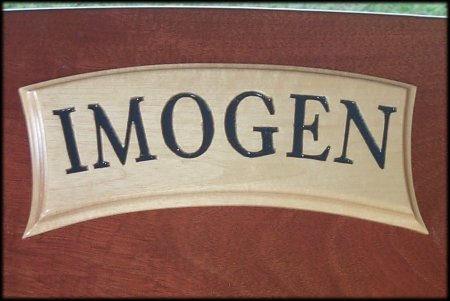
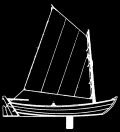
Well more time on the house than the boat. I got the downstairs shower operational then finished the upstairs bathroom and Cooper's room. Again lots of help from family. Thanks especially to Damon and Colin. Then before doing any more on the house I wanted to finish the boat. All the inside of the hull was sanded again. The fittings purchased or made and fitted. After that there was another full coat of the epoxy. Roger, the friend who recommended the boat coat system also suggested launching the boat before applying the polyurethane topcoats. Roger suggests that where the epoxy is thin it will fail after seeing a little sun and is more easily repaired before top coating. The first photo is the rudder. Colin helped me with the cut out and suggested biscuits for joining the pieces together. I've gone with the removable pin version. I think it has turned out pretty well. The next photo is of the belaying pin. I turned up some of the Queensland Silver Ash on my fathers lathe. I've given it a shape like I've seen on old sailing ships. Tracey's mother and father gave me some lovely timber oars for my birthday. I didn't want to use those rubber oar protectors so I bought from Woodenboat their oar leather kit. I took the option of stitching the leathers on. I used the tacks they supplied to attach the leather to the mast. As the brass oar locks fold down and rest on the boat rail I was concerned that the rail would be damaged by them. I got a finished kangaroo hide and have laced it on the rails. I purchased the sail from Doyle Fraser. I went back to Muir Marine for the ropes etc. The final touch giving her a name. I've called her Imogen. I spent some time shaping and carving her a name plate. Again it is from Queensland Silver Ash and it is thick enough to cover the bolt heads that run through the transom for the pintle. Now I'm ready to launch.

|